Precision Products. Professional Service.

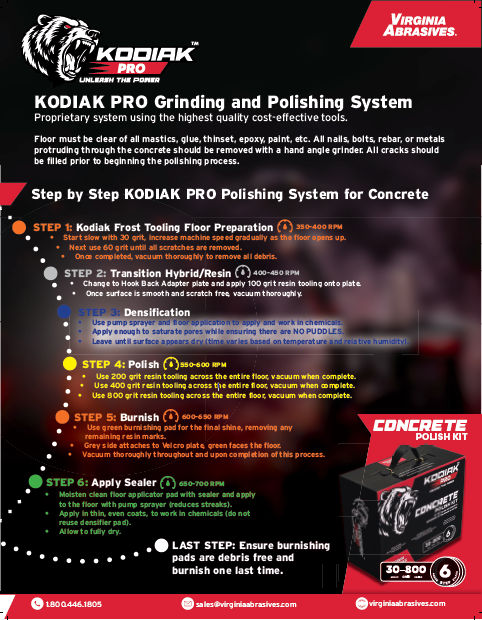
Transform concrete surfaces with the power and performance of the Kodiak Pro™ Grinding & Polishing System from Virginia Abrasives. Designed for contractors who demand consistent results, this professional-grade system delivers a complete process for concrete floor preparation, polishing, and final finishing using a streamlined series of compatible tooling and accessories.
The Kodiak Pro™ system provides a step-by-step solution engineered for efficiency, durability, and superior surface clarity. Each stage of the process is supported by purpose-built tooling that helps maximize productivity while maintaining a smooth transition from grinding to refined polishing.
Built around the trusted Kodiak Pro™ tooling platform, this system helps contractors simplify inventory, reduce downtime, and achieve reliable, repeatable results across residential, commercial, and industrial concrete applications.
6-Steps to a Brilliant Concrete Floor Shine
click to expand
Step 1 - Kodiak Frost Tooling Floor Preparation
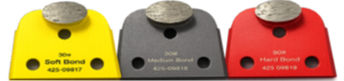
- Start slow with 30 grit, increase machine speed gradually as the floor opens up.
- Next use 60 grit until all scratches are removed.
- Once completed, vacuum thoroughly to remove all debris.
Step 2 - Transition Hybrid/Resin
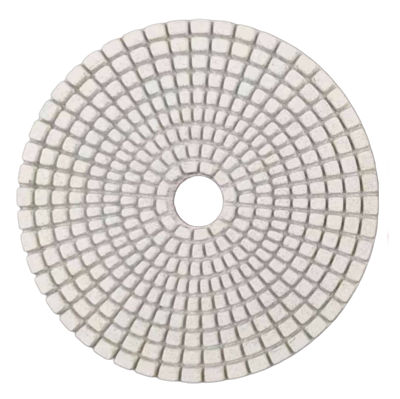
- Change to Hook Back Adapter plate and apply 100 grit resin tooling onto plate.
- Use 100 grit resin tooling across the entire floor.
- Once surface is smooth and scratch free, vacuum thoroughly.
Step 3 - Densification
- Use pump sprayer and floor application to apply and work in chemicals.
- Apply enough to saturate pores while ensuring there are NO PUDDLES.
- Leave until surface appears dry (time varies based on temperature and relative humidity).
Step 4 - Polish
 |
 |
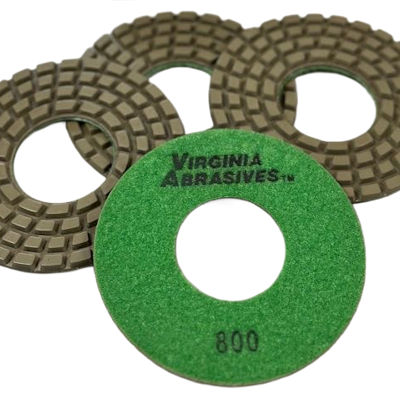 |
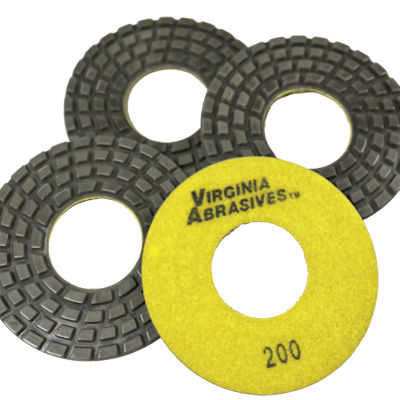
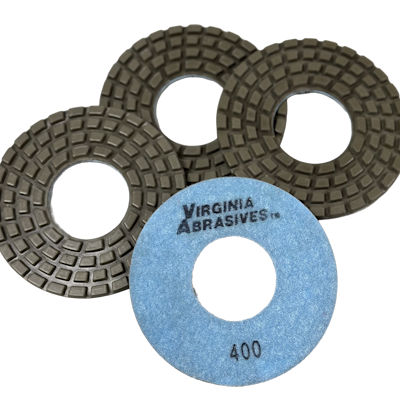
- Use 200 grit resin tooling across the entire floor, vacuum when complete.
- Use 400 grit resin tooling across the entire floor, vacuum when complete.
- Use 800 grit resin tooling across the entire floor, vacuum when complete.
Step 5 - Burnish
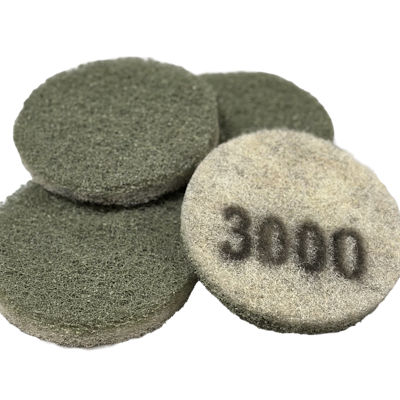
- Use green burnishing pad for the final shine, removing any remaining resin marks.
- Grey side attaches to Velcro plate, green faces the floor.
- Vacuum thoroughly throughout and upon completion of this process.
Step 6 - Apply Sealer and Final Burnish
- Moisten clean floor applicator pad with sealer and apply to the floor with pump sprayer (reduces streaks).
- Apply in thin, even coats, to work in chemicals (do not reuse densifier pad).
- Allow to fully dry.
- Ensure burnishing pads are debris free and burnish one last time.
Download the 6-step Kodiak Pro™ Grinding and Polishing System Guide